While LinkedIn.com rolls new features out randomly over time, Sales Navigator is releasing quarterly updates. Bravo, LinkedIn. If only LinkedIn did this across the board with all their products (LinkedIn.com, Recruiter and the mobile apps), their members would have a greater chance of mastering LinkedIn.
Years ago, we’d race to post about new updates, features only to find that most people didn’t have those updates yet or that LinkedIn removed them days, weeks or a couple of months later. For that reason, we hold out. Really what’s the benefit of showing something that only a small percentage of our readership, clients and LinkedIn’s members have?
However, LinkedIn seems to be committed to their quarterly updates, and they do tend to stick so let’s review what’s new for Q1 2019.
1.The ability to collaborate with your team by sharing custom Lists. This is for those with the team version of Sales Navigator only and is quite helpful for sales teams as they determine the best next step, add context or hand-off from one member of the team to the next (i.e. Sales Development Rep to Closer to Account Manager).
By the way, if you have Sales Navigator and aren’t building Lead or Account Lists, you should stop and do that today. It will make a huge difference in your productivity and effectiveness.
10 STEPS
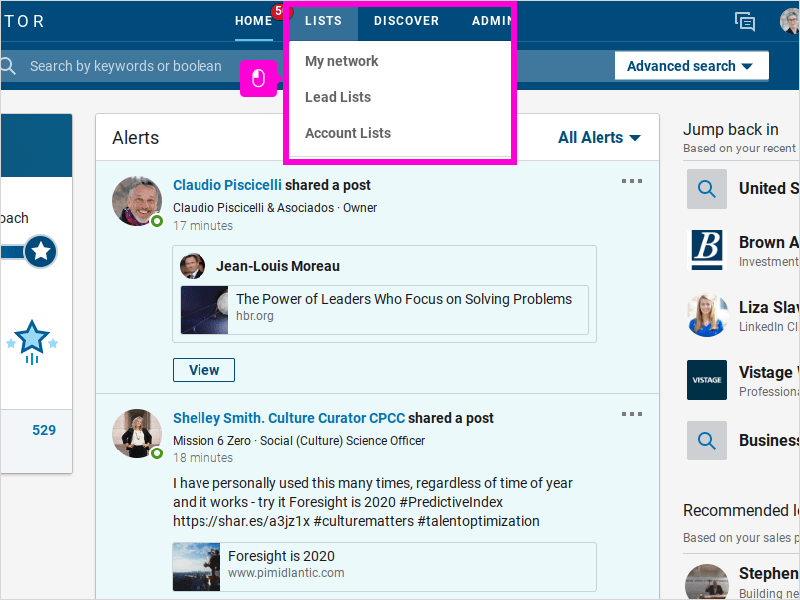
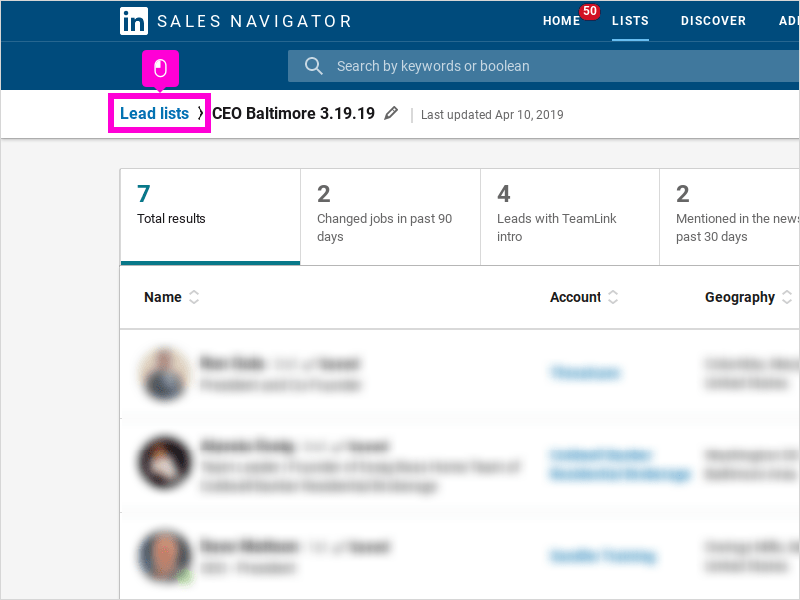
1To share custom built lists with other team members using Sales Navigator, you will want to find “LISTS” at the top of your page and click on it. When the drop down appears, click on Lead Lists.
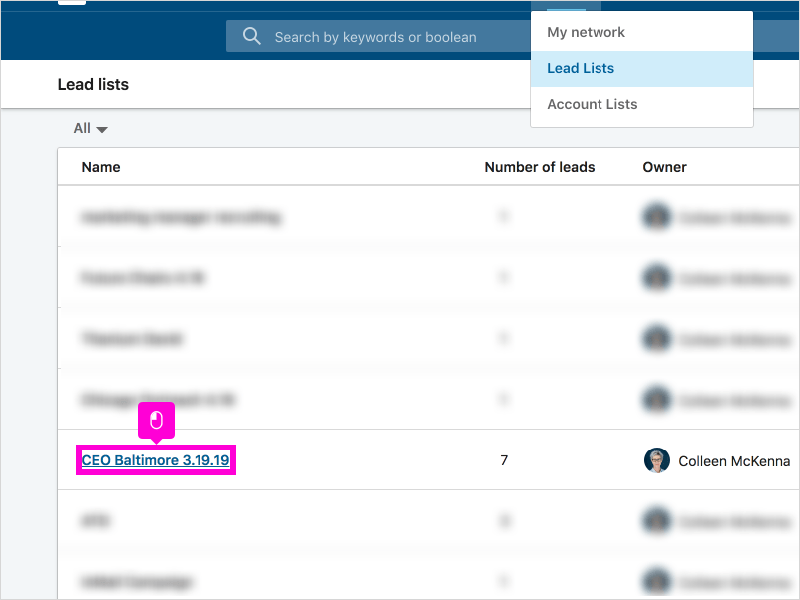
2Once you are taken to the lead lists page, click on the name of the list you would like to share. For this tutorial I will be using my CEO Baltimore list that I have previously created.
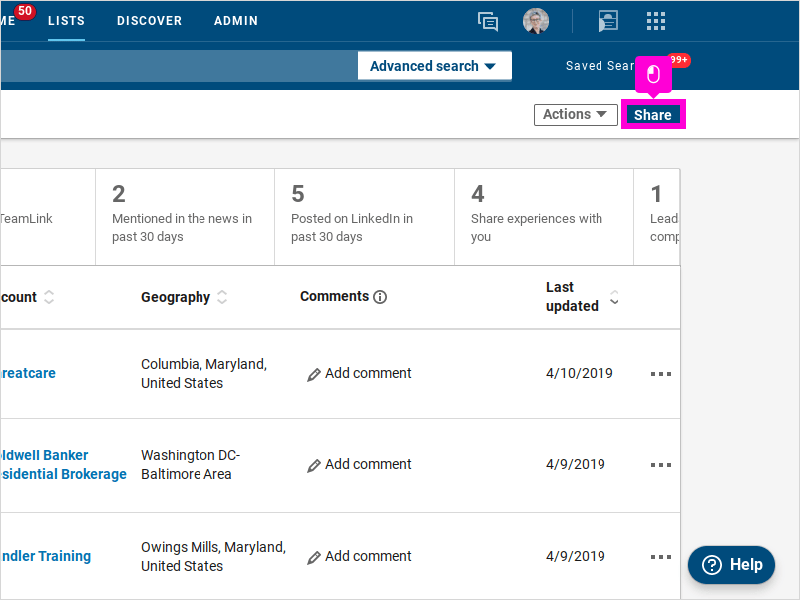
3Once you are on the page with the people you have previously saved to that list, find and click Share at the top right of the page.
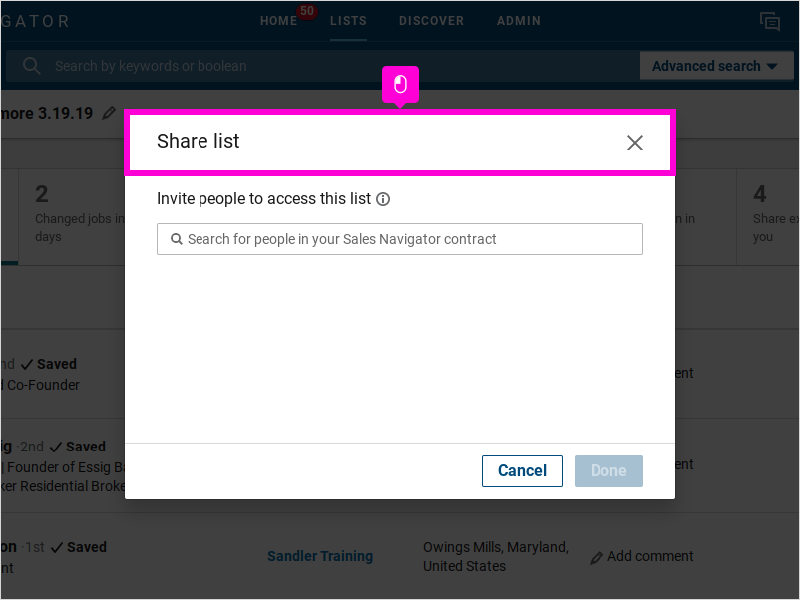
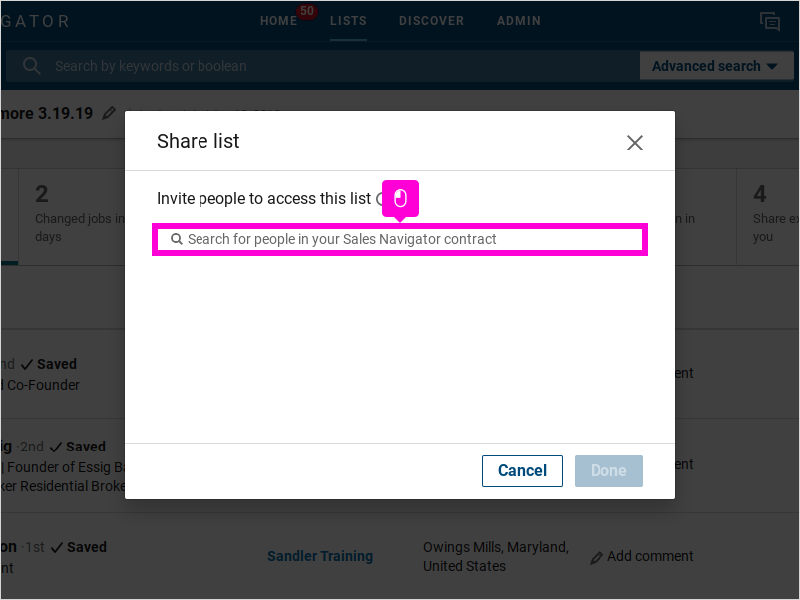
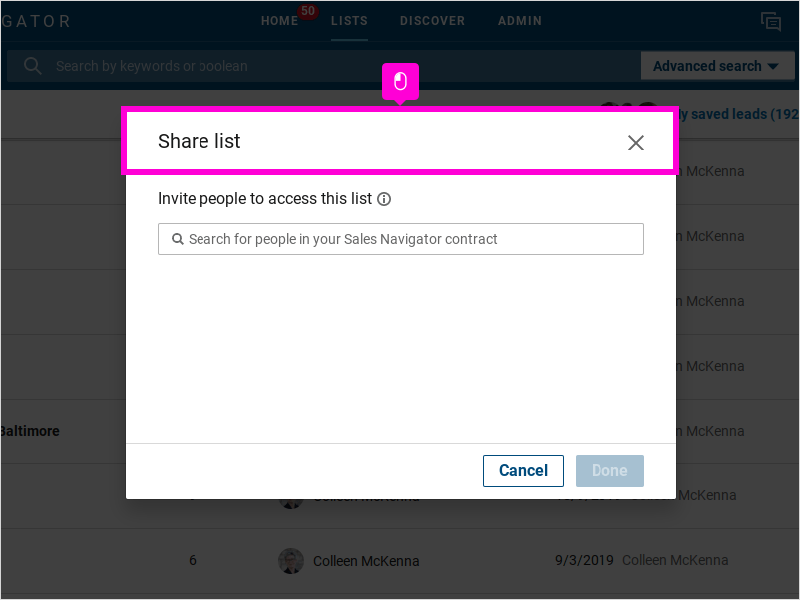
4A pop-up window will appear for you to share the list with Sales Navigator users in your company.
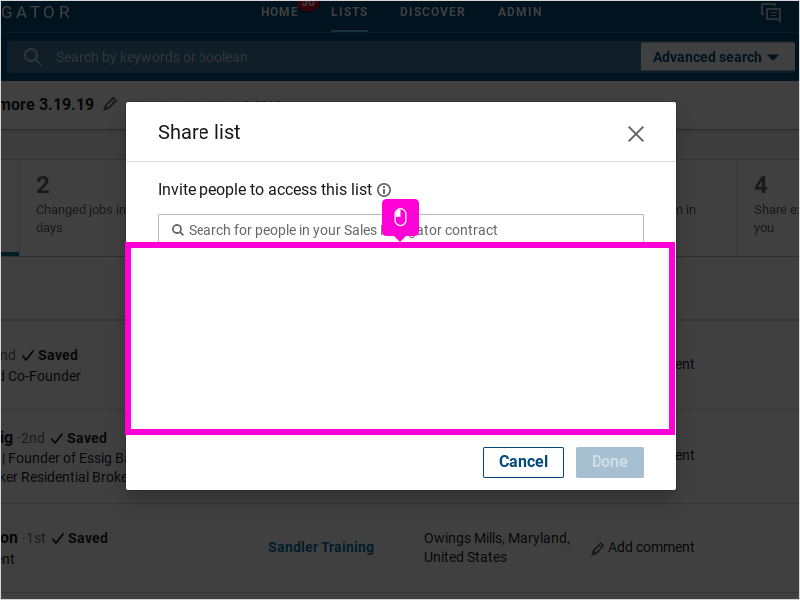
5Search for Sales Navigator users in your company by typing in the box. Once the name of the person you want to share it with appears, click on their name to make it show up in the box below.
6The team member’s name will show up here once they are selected
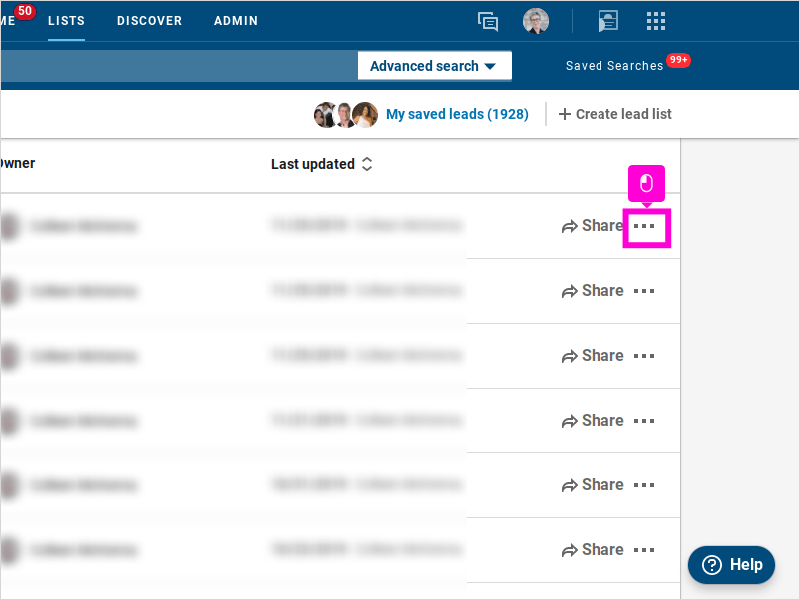
7You can also share lead lists an alternative way that is much faster. Click lead lists at the top of the page to go back to the lead list page.
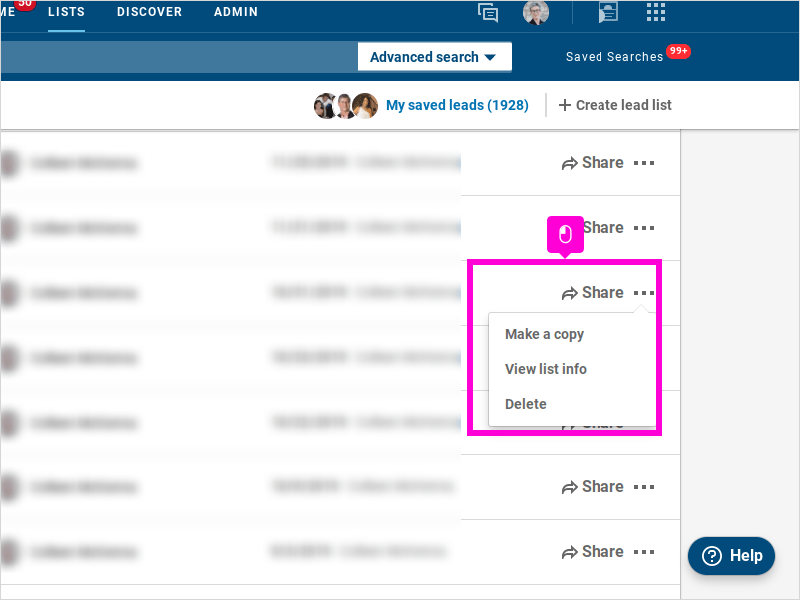
8Find the same list, except this time click on the three dots to the right of the list name.
9A small pop-up window will appear. Note that this is also how you edit and delete lists. For this tutorial, we will click Share.
10The same pop-up window will now appear. Here, you can follow the same steps in sharing a list with a teammate. That’s it, you’re done!
Here’s an interactive tutorial for the visual learners
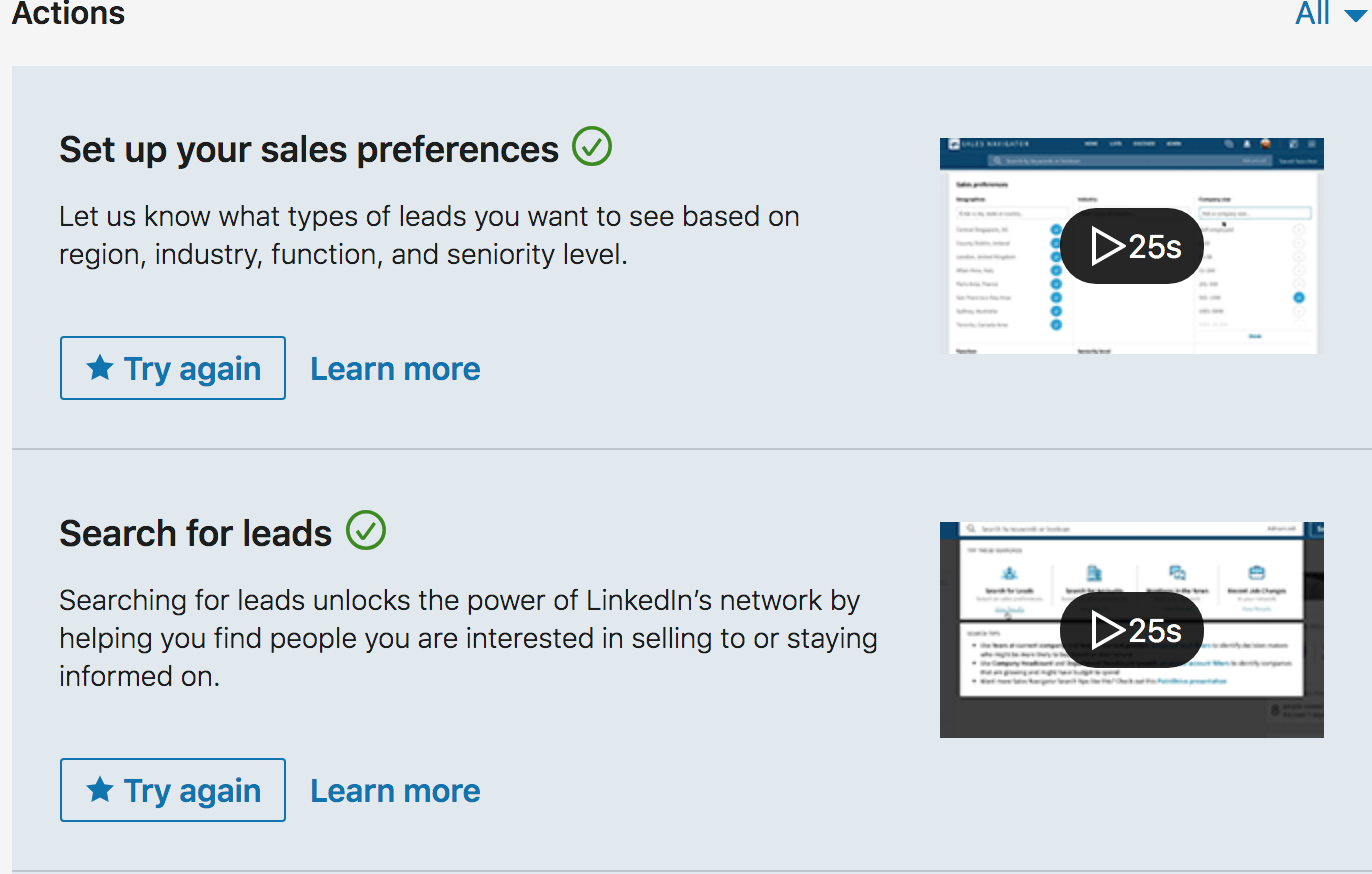
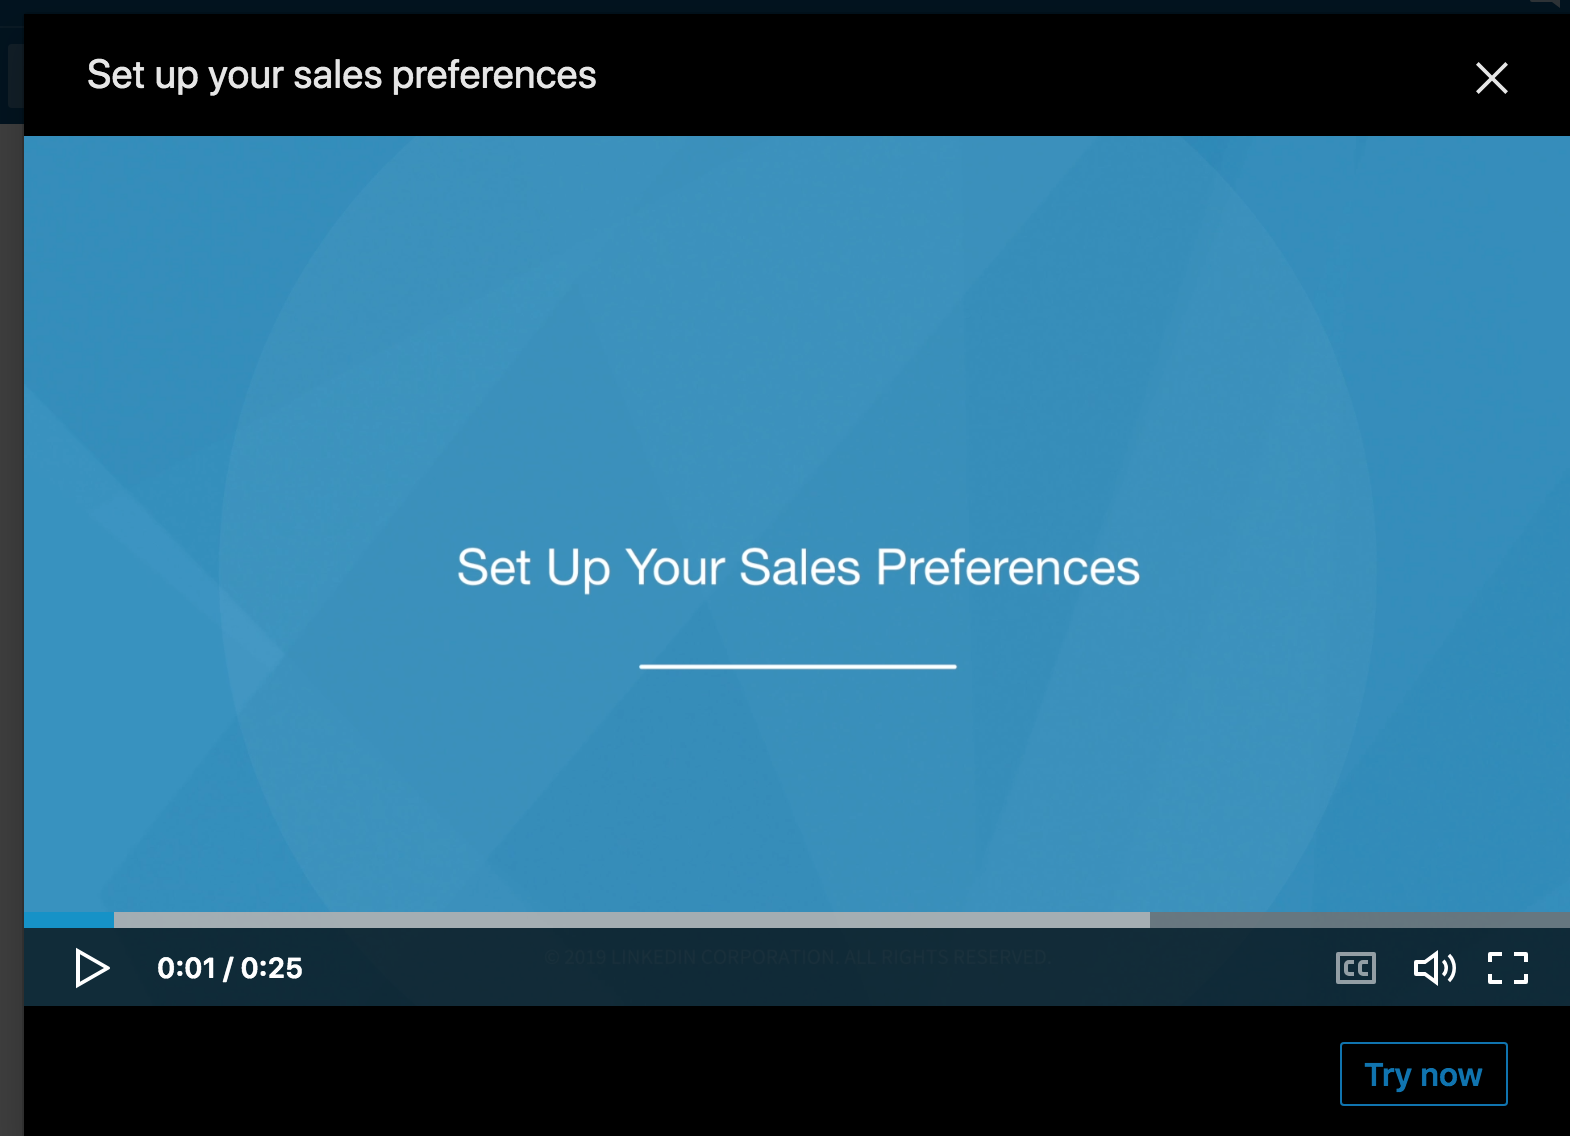
2. I was most interested in seeing what LinkedIn created with Sales Navigator Coach. These are great little clips to get you started, however, they don’t include any strategy with them. No tips just straight up how-to’s, which is fine for most people. Unlike the tutorials we’ve created for in:side and even in our posts (you just saw one above), they simply show the mechanics. Our clients like to know the why behind the action.
3. The capability to create a more specific Advanced Search with search exclusions. This is quite handy especially if you are searching by titles, industries or geography and need to remove people, industries or places for better search results.
20 STEPS
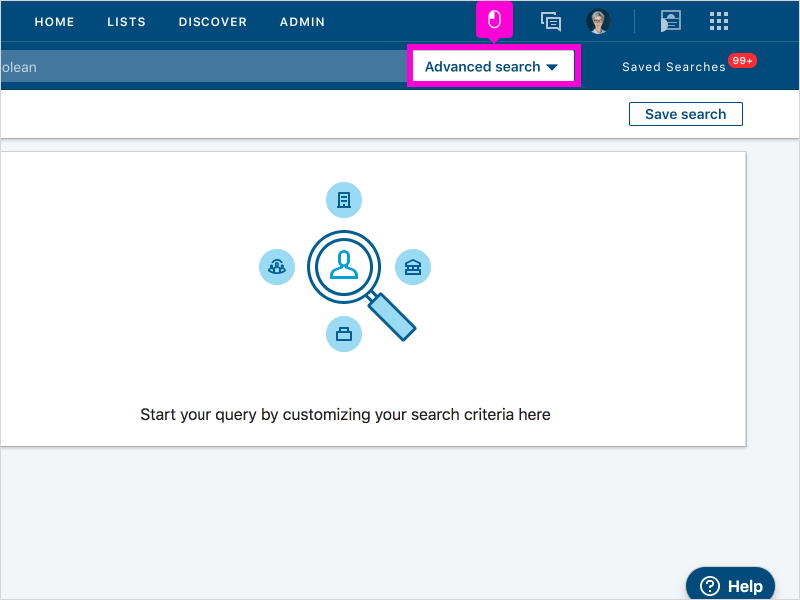
1There are many new added features on Sales Navigator. Begin by clicking on Advanced Search next to your search bar.
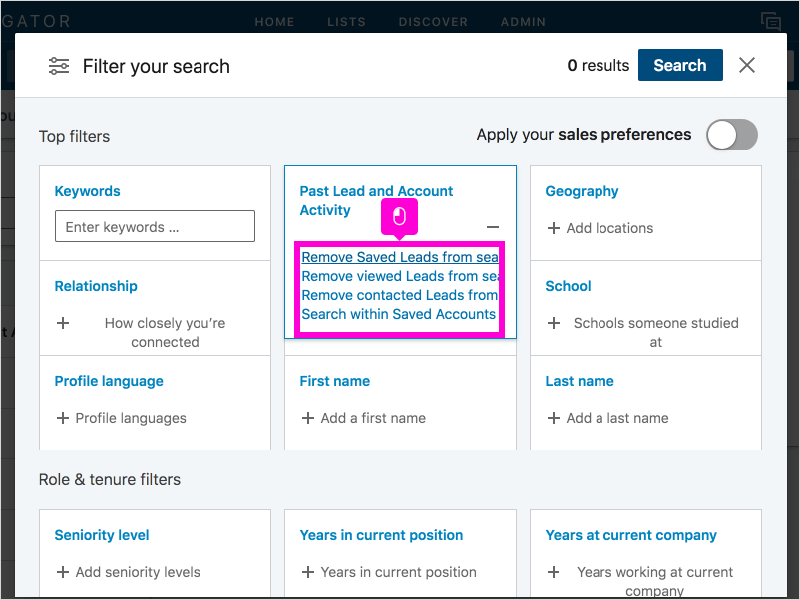
2Next, start to filter your search by adding in your criteria. I will begin by filtering out already saved leads from my search, along with viewed leads and contacted leads.
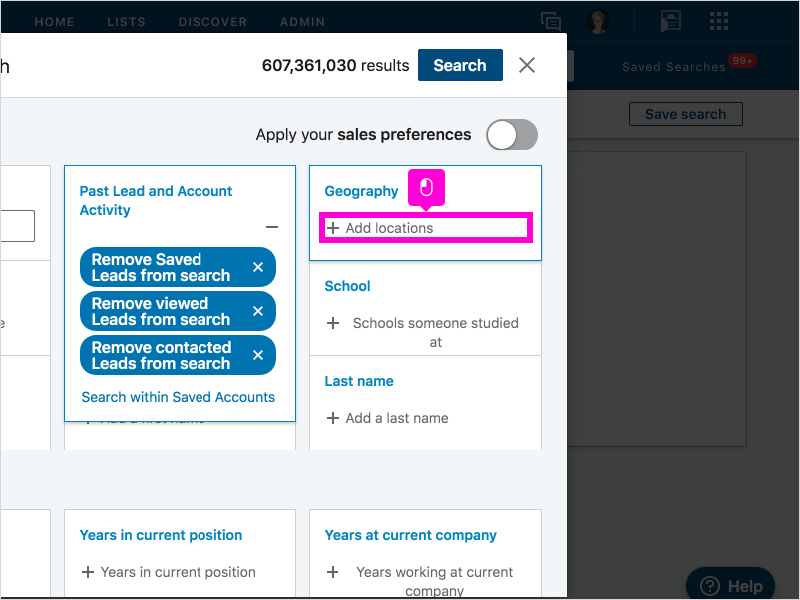
3Always be sure to add your Geography where you want to conduct your search!
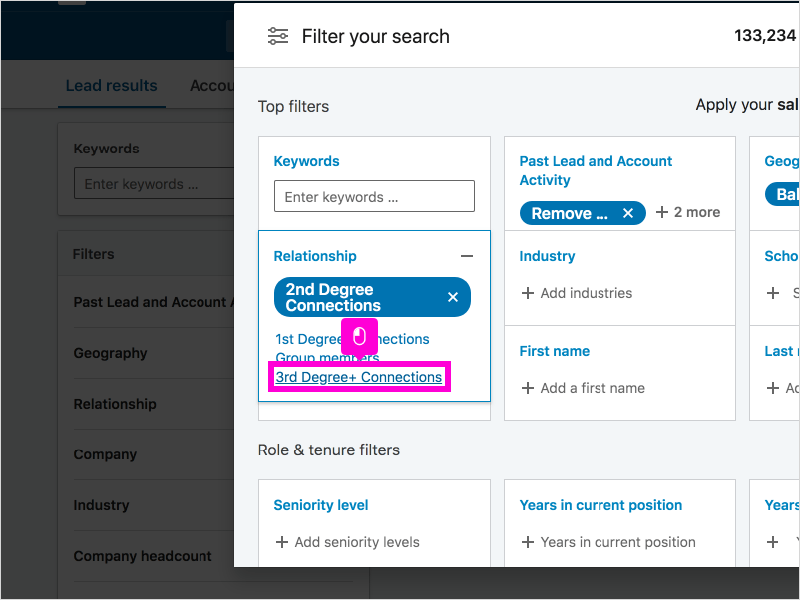
4Choose to search for 2nd and 3rd degree connections, unless you are searching within your network.
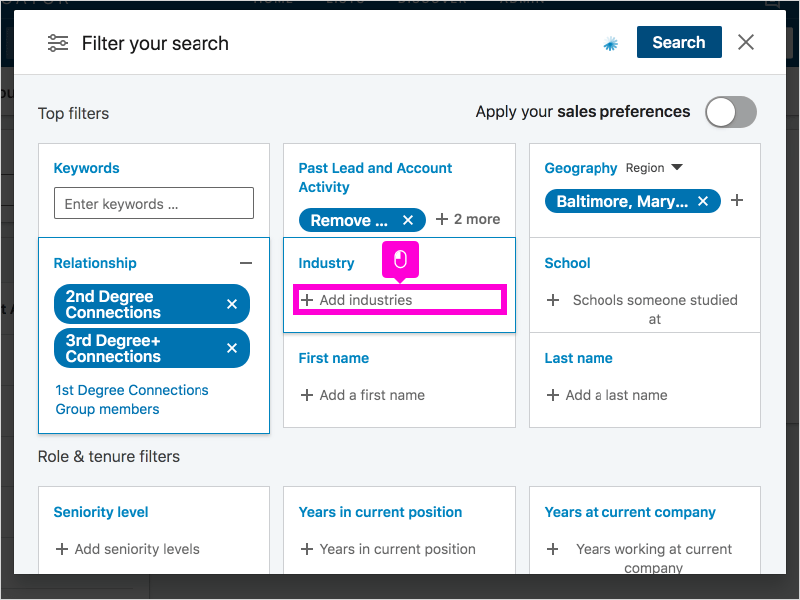
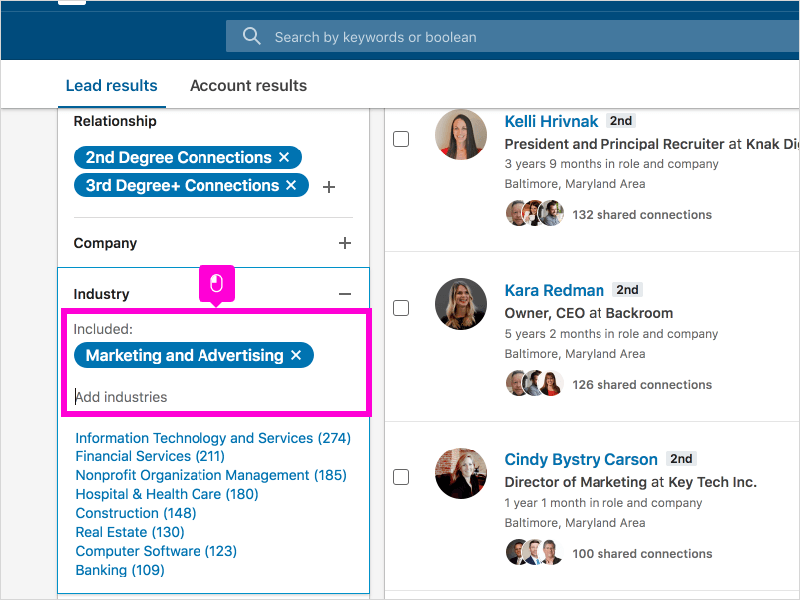
5Choose which industries you would like to search in. You can add as many or as little as you’d like here.
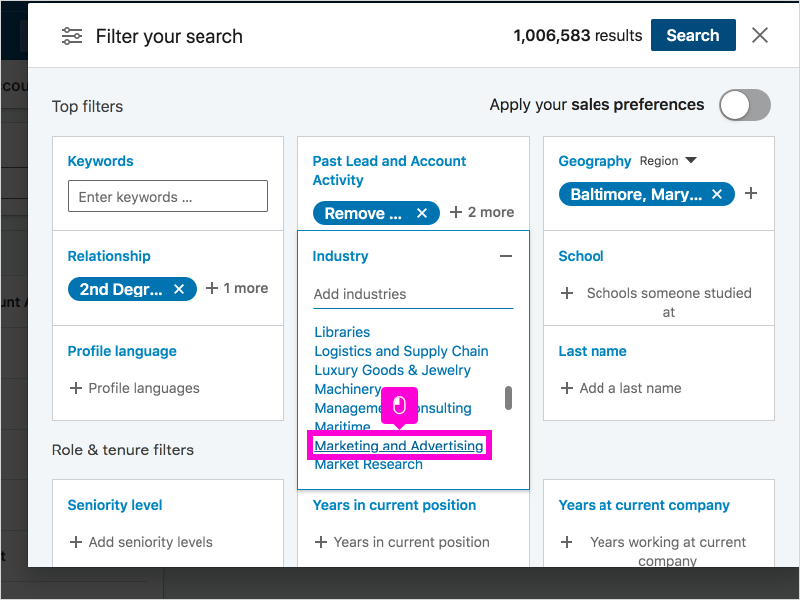
6For this tutorial, I will search in Marketing and Advertising, so I will click Marketing and Advertising.
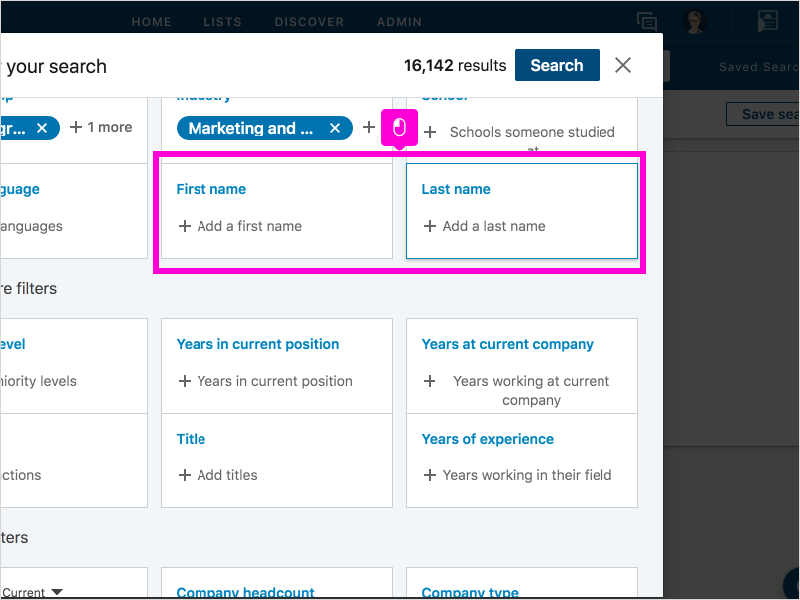
7Note that you can also now choose to search by first and last name in the advanced search.
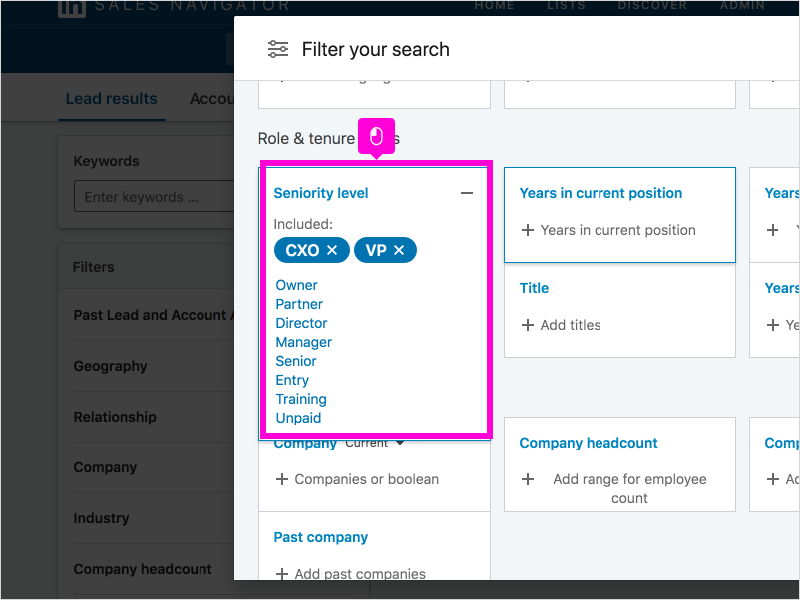
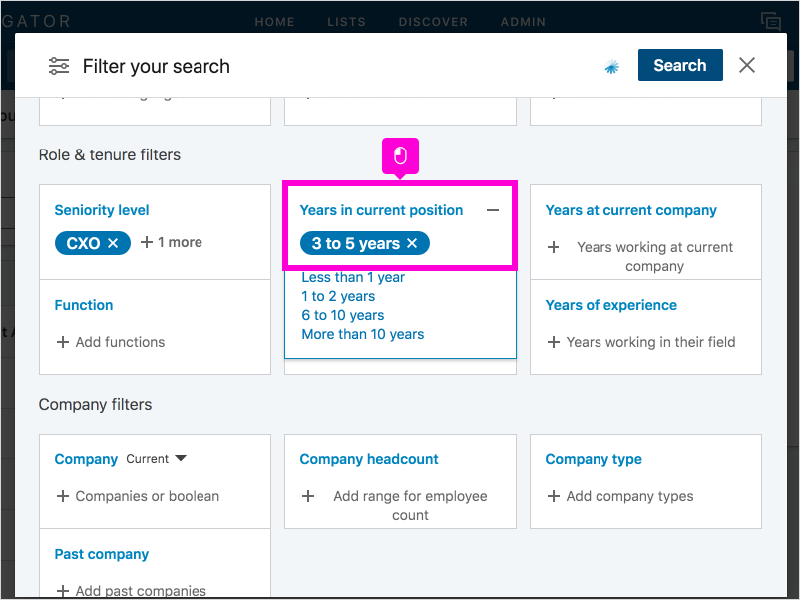
8Be sure to add seniority level of the leads that you are looking for to narrow down your search results. I will choose CXO and VP.
9You can also choose to find people in that position for a certain amount of time. I will choose 3 to 5 years as an example.
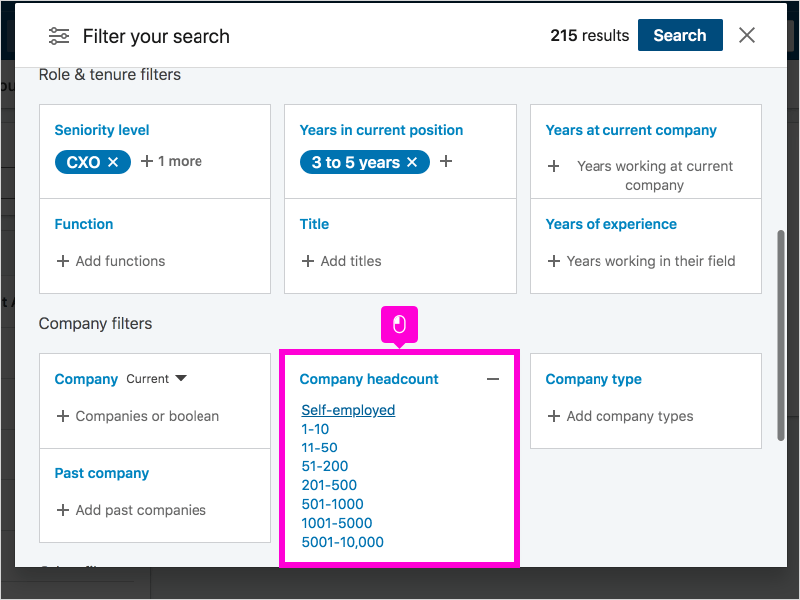
10Next, I will jump down to company headcount. Based on your criteria, choose how large or small you want the companies to be.
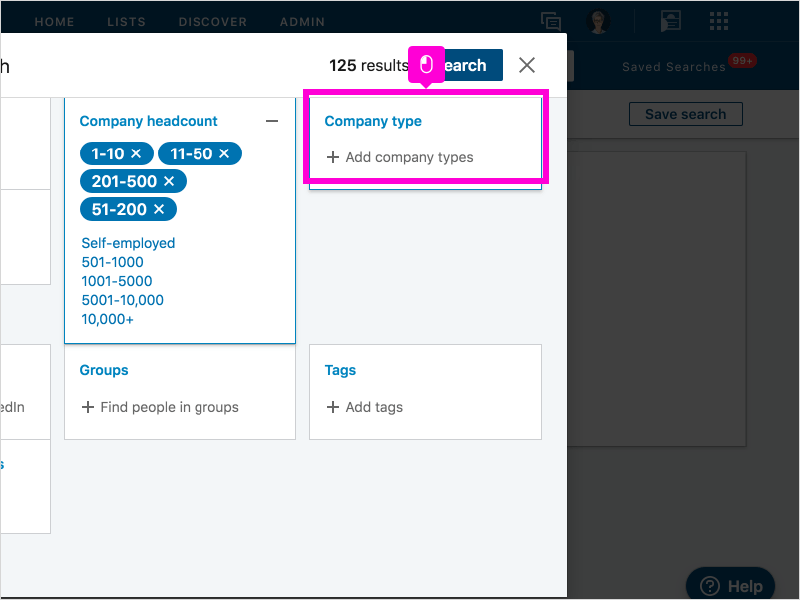
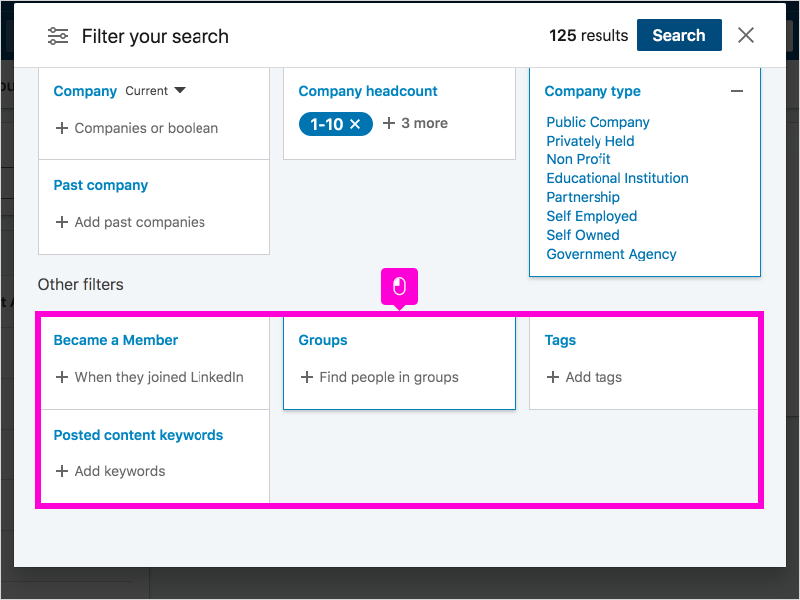
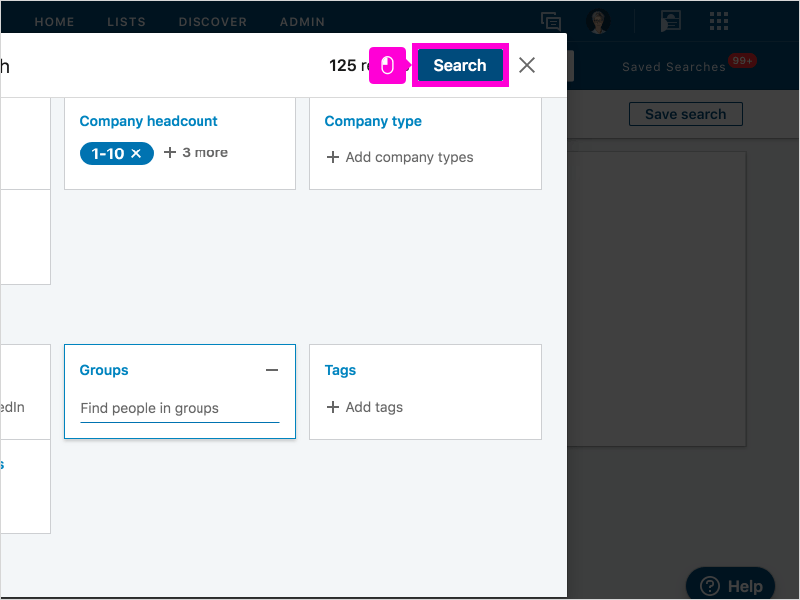
11Note that you can now add a filter to search by company type. This includes publicly company, privately held, educational institution, etc. If you want to add this criteria, just click on + Add company types.
12You can also search for people in certain groups, when they joined LinkedIn, keywords in content a user has posted, or tags (someone you have already viewed).
13When you are ready, click Search.
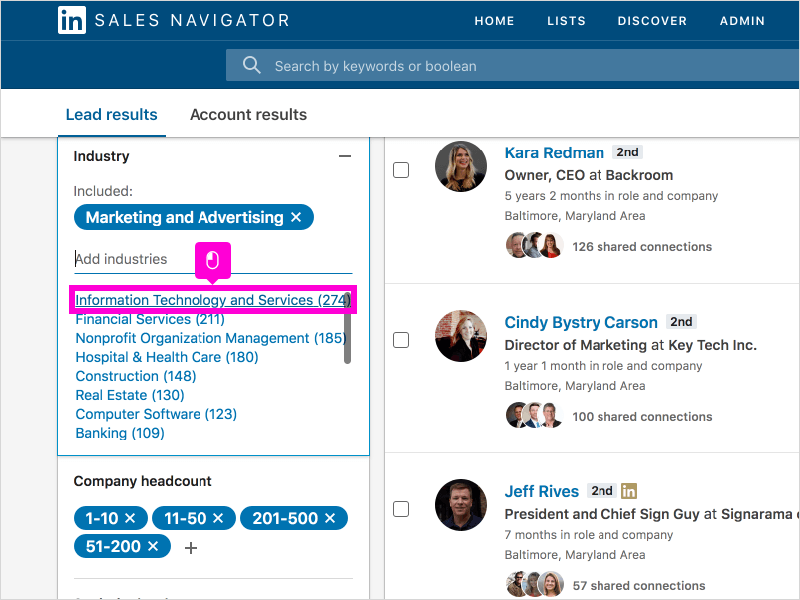
14You still have the ability to add more criteria or take criteria away after you have already launched your search. For example, I will add Information Technology and Services to my search.
15Click on the industry you want to add.
16
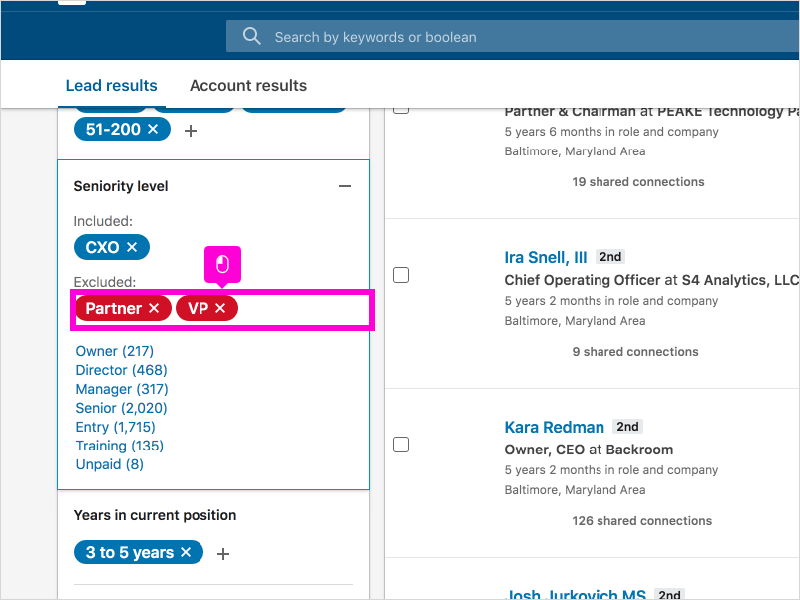
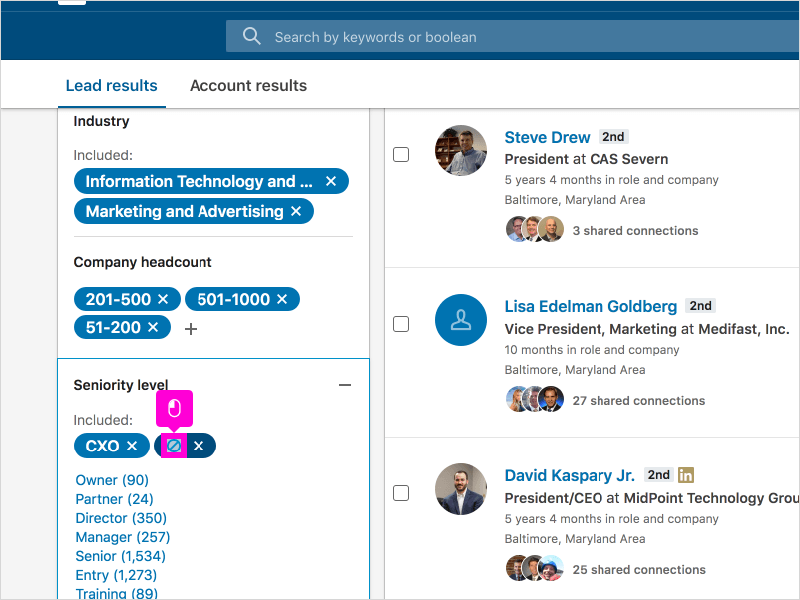
17The newest addition to the advanced search is the ability to exclude criteria from your search. I will show you how to do this with seniority level.
18To exclude criteria, simply hover over the selected criteria that you want to exclude. A circle with a line through it as well as an x will appear. To exclude the criteria, click on the circle with the line through it.
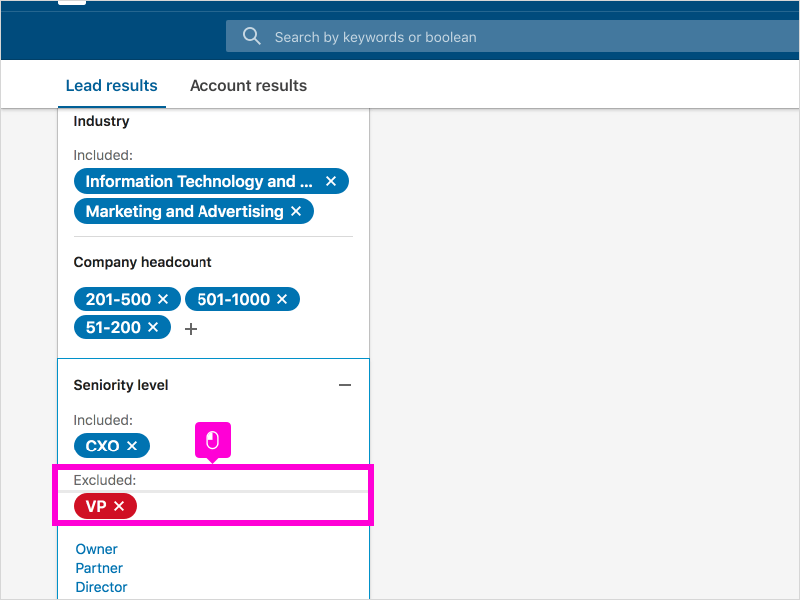
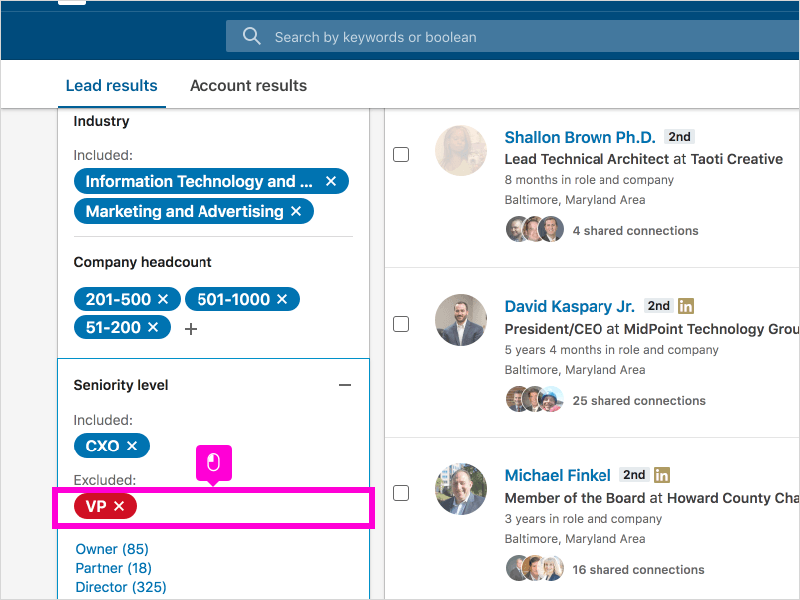
19Once you have successfully excluded a certain criteria, it will appear in a new section in red with “excluded” above it. This is a great tool for example if Sales Navigator is pulling Vice Presidents when you are only looking to find Presidents.
20That’s it, you’re done! If you would like a more in-depth tutorial on how to use the advanced search in Sales Navigator, head over
Here’s an interactive tutorial for the visual learners
I also have a new Sales Navigator Home Page too. I have to say I prefer the previous version better not because I don’t like new versions rather I think it offered more filtering of good information.
On the left column is where my Sales Navigator Coach resides, in the middle Alerts which clues me in on what’s happening with my Saved Leads. On the right column, I see information based on my recent activities, recommended leads and accounts based on my sales preferences.
Sales Navigator is a powerful tool in the right hands. It requires a workflow and attention to detail. It enables you to get further faster but just like LinkedIn.com rarely does anything happen without your input and nurturing.
If you haven’t used Sales Navigator before, I recommend testing it out with their 30 days free trial (the free trial is only available if you’ve never used SN before). First though, be sure you’ve updated your profile, prepared some targeted lists, thought about what you want to say and have carved out the time to be intentional.
My harmeless plug:in:side features an entire module on Sales Navigator including tutorials, scripting ideas, checklist and more. Three months of in:side will position you to gain the most traction and insight to amp up your LinkedIn sales efforts and covers other key topics including personal branding, network, using content, searching and more.